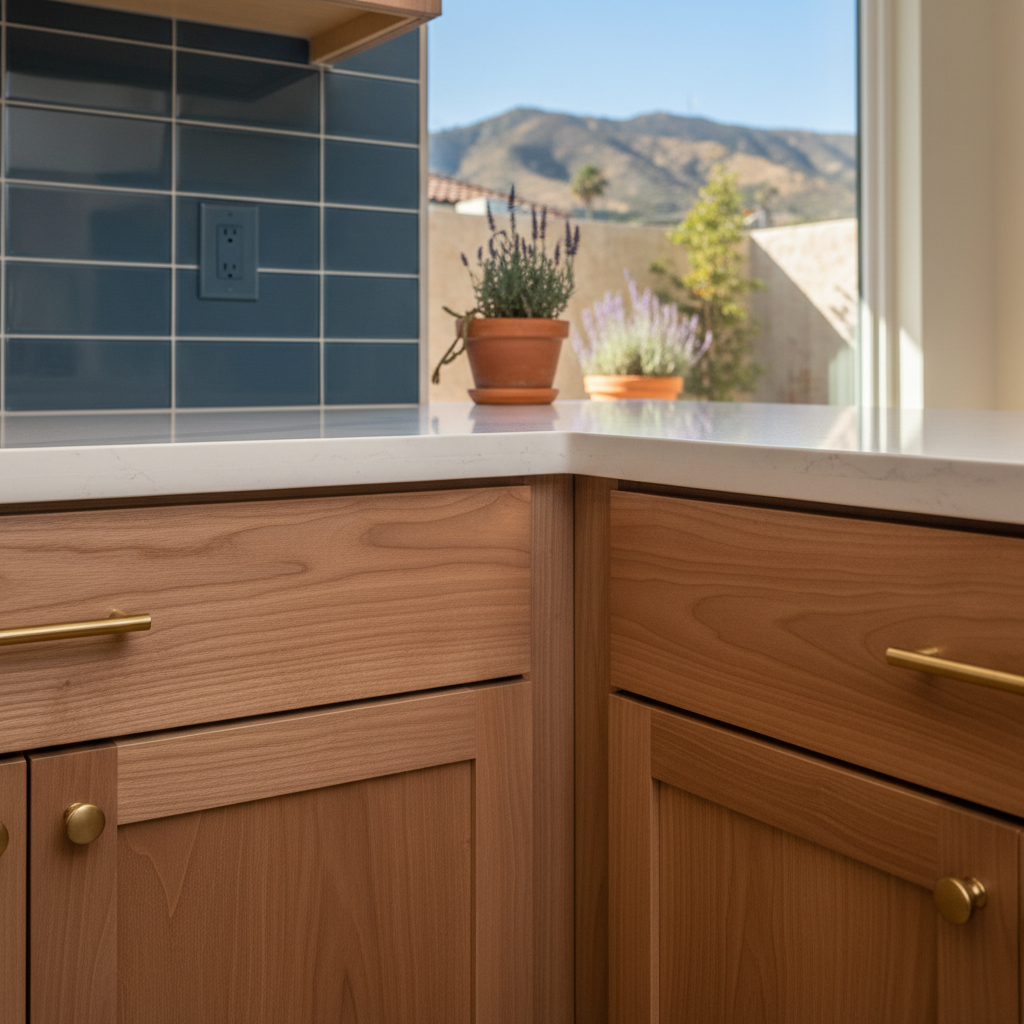
Installing new kitchen cabinets isn't just about screwing boxes to a wall. It's a precise job that can make or break the look and function of your whole kitchen. I've seen plenty of DIY attempts go sideways, and I've also seen homeowners pull off some impressive work. So, what can you realistically do yourself, and when should you pick up the phone?
Before You Even Think About Screws
First things first: planning. This is where you can save yourself a ton of headaches and money. You need accurate measurements, and I mean *accurate*. Don't just measure once; measure twice, even three times. Get the height, width, and depth of your space. Account for things like windows, doors, outlets, and appliance clearances. You'd be surprised how often folks forget to factor in the fridge door opening or the dishwasher panel.
Think about your layout. Do you want uppers, lowers, a pantry cabinet? Consider how you use your kitchen now and what you wish was different. Are you going for a modern, minimalist look or something more traditional that fits a Craftsman home in Bungalow Heaven? The style of cabinet you choose will impact the installation process too. Framed cabinets are a bit more forgiving with minor wall imperfections than frameless ones, for example.
Also, check your walls. Are they plumb and level? In some of the older Pasadena homes, especially those built before the 1950s, walls can be a bit wonky. You might need to shim out your cabinets to compensate, or even do some drywall repair first. Don't skip this step; trying to hang cabinets on uneven walls is a recipe for disaster and frustration.
During the Installation: DIY vs. Pro
Okay, you've got your cabinets, your plans, and your tools. Now what? Here's a breakdown of what's often manageable for a homeowner and what usually requires a pro.
- Demolition: Ripping out old cabinets? Most homeowners can handle this. Just make sure you turn off the water and electricity first, and have a plan for disposal.
- Assembling Cabinets: If you bought RTA (ready-to-assemble) cabinets, putting them together is usually a straightforward, albeit time-consuming, process. Follow the instructions carefully.
- Locating Studs and Marking Lines: This is critical. You need to find your wall studs accurately to securely mount your cabinets. A good stud finder is your friend here. Mark a level line around your kitchen where the bottom of your upper cabinets will sit, and another for the top of your base cabinets. This is non-negotiable for a professional-looking installation.
- Hanging Base Cabinets: If your floors are relatively level and your walls aren't too out of whack, you can often set and level base cabinets yourself. Start in a corner, shim as needed, and screw them to the wall studs. Make sure they're perfectly level and plumb before moving on.
- Hanging Upper Cabinets: This is where things get trickier, especially if you're working alone. Uppers are heavy, awkward, and need to be perfectly aligned with each other and with the base cabinets below. I've seen too many homeowners struggle with this, resulting in crooked cabinets or, worse, cabinets falling off the wall. If you don't have a second pair of hands, a good cabinet jack, and a lot of patience, this is a prime candidate for professional help.
- Finishing Touches (Crown Molding, Toe Kicks, Hardware): Installing crown molding can be challenging because it often involves tricky miter cuts. Toe kicks are usually easier. Drilling for hardware (handles, pulls) seems simple, but one wrong hole can ruin a cabinet door. Use a template!
Honestly, if you're not confident in your ability to get things perfectly level, plumb, and square, or if your walls are particularly challenging, call in a professional. It'll save you stress, potential damage, and give you a much better end result. At Valley Kitchen Solutions, we've got the tools and the experience to make sure your cabinets are installed right the first time.
After the Dust Settles
Once your cabinets are in, take a step back and admire your work. But you're not quite done. Check all doors and drawers to make sure they open and close smoothly. Adjust hinges as needed. Clean everything thoroughly. You'll want to protect your new cabinets during any other work, like countertop installation or painting.
Remember, a well-installed cabinet system isn't just about aesthetics; it's about functionality and longevity. A little extra care and attention to detail during the process will pay off for years to come.